The short and simple answer is: with a single click of the remote control! Aside from that, there are a few things you should be aware of if you want to install a gas fireplace insert. Even if you already have a gas insert, there are safety, performance, and maintenance concerns to consider. Please take a few moments to go over this article.
DEFINITION:
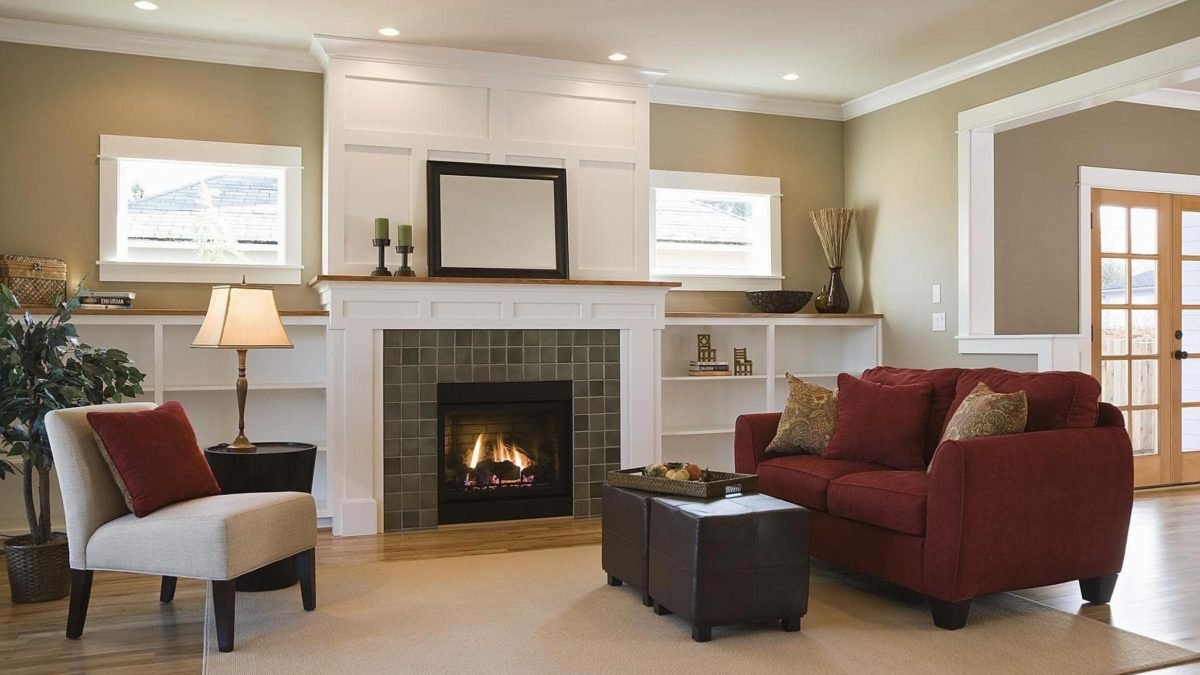
A gas fireplace insert is a fireplace that is meant to slide into (or be put into) an existing wood-burning fireplace. A zero clearance fireplace features an insulated enclosure surrounding the firebox, allowing it to be placed in a frame wall. Because a gas insert lacks a protective, insulated cabinet surrounding the firebox, it cannot be framed into a wall like a zero clearance fireplace. The integrity of the wood-burning fireplace is relied on by an insert to keep any combustibles from overheating.
INSTALLATION:
A gas fireplace insert can be configured to burn either natural gas (NG) or liquid propane (LP). Most are equipped to burn NG, but a trained technician can quickly add an LPG conversion kit. Getting an electric line and a gas supply inside the fireplace might be difficult at times. However, because both are in the firebox, no electric or gas lines are visible on the hearth. It results in a much cleaner and more professional end product.
Gas fireplace inserts are self-contained and produce radiant heat. To power the fan, however, an electric line is required. The fan is controlled by a heat-sensitive switch that turns on and off automatically. A rheostat allows the fan speed to be changed to a variety of settings.
Because gas fireplace inserts employ a sealed combustion mechanism that draws outside air into the firebox for burning, they must be vented. On top of the old chimney, two aluminum liners with 3 “or 4” flexible pipes are inserted. One introduces combustion air. The other exhausts combustion byproducts to the outside. To avoid damaging the liners, the damper must be removed or permanently wired open.
An ancient chimney is sometimes removed below the roofline. Adaptors are employed in these situations to convert the two-pipe-liner system to a one-pipe, co-axial system. This cable pipe is placed through the roof, flashed, and terminated vertically. The majority of gas fireplace inserts must end vertically.
The installer will use an electronic gas detector to inspect all gas connections and a manometer to confirm that the gas pressure is properly set. The installer will also test-burn the insert to ensure that the air-to-fuel ratios are accurate and that the flame pattern is genuine.
The final stage in installing a gas insert is to add ornamental surround panels. The surround’s purpose is to conceal the leftover space on each side and the top of the insert. Your dealer will always try to increase the size of the insert in order to maximize the viewing area of the fire. This allows the surrounding panels to be as compact as feasible.
OPERATION:
How is the insert turned on and off now that it has been installed? How is the fan speed or temperature controlled? Will it get excessively hot after many hours of constant use? Returning to the initial comment made in this article: Everything can be managed with a single click of the remote! Because most people are aware of the convenience of gas, it stands to reason that remote control is now included with many gas fireplace inserts.
There are several sorts of remote controllers. The gas fireplace insert may be turned on and off using simple remote controls. Some remotes are thermostatically regulated, which means that when the temperature in the room reaches a specific level, the insert will turn off. When the thermostat signals a need for heat, the insert will activate. Other remotes are “full-function” remotes that control all of the insert’s functions. Remotes are used to regulate the fan speed, flame height, lighting characteristics, and duration of the insert’s operation. If having another remote in the house isn’t an option, some gas inserts still use a wall switch to turn the unit on and off. Fan speeds, gas valve changes, and lighting effects are all controlled by hand.
MAINTENANCE:
The owner’s handbook is a good place to start when it comes to the proper operation and maintenance of a gas insert. Exterior painted surfaces, metal-plated trim, and glass should all be cleaned with a soft, non-abrasive cloth and mild non-abrasive cleanser. Make certain that there are no fingerprints on the metal trim or the glass. The high heat might permanently bake them on. On the shelf at your dealer is a specific glass cleaner for gas appliances. A homeowner is often responsible for replacing batteries. When it’s time, an obnoxious beeping sound will alert you.